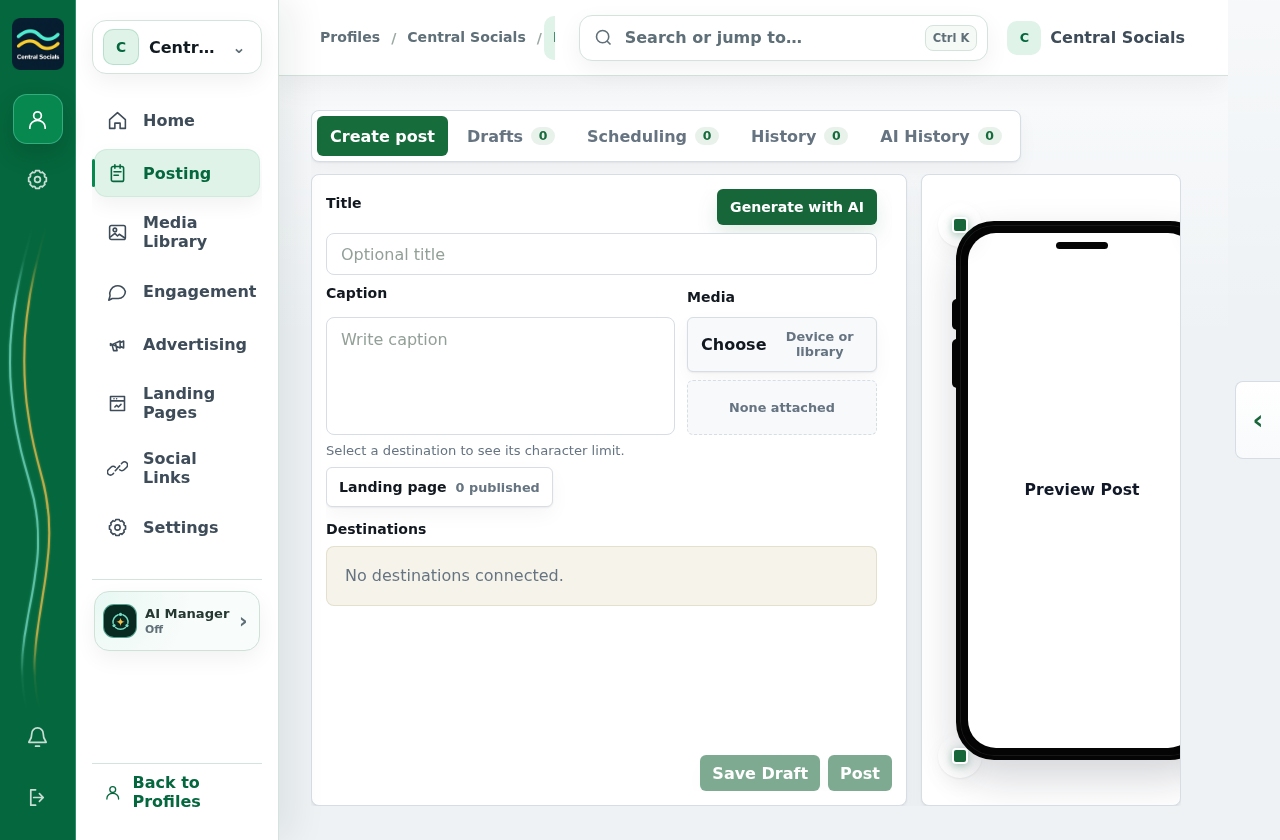
Open Posting → Create post and prepare the post and destinations.
Select Post, turn on Schedule post, and enter the scheduled date and time.
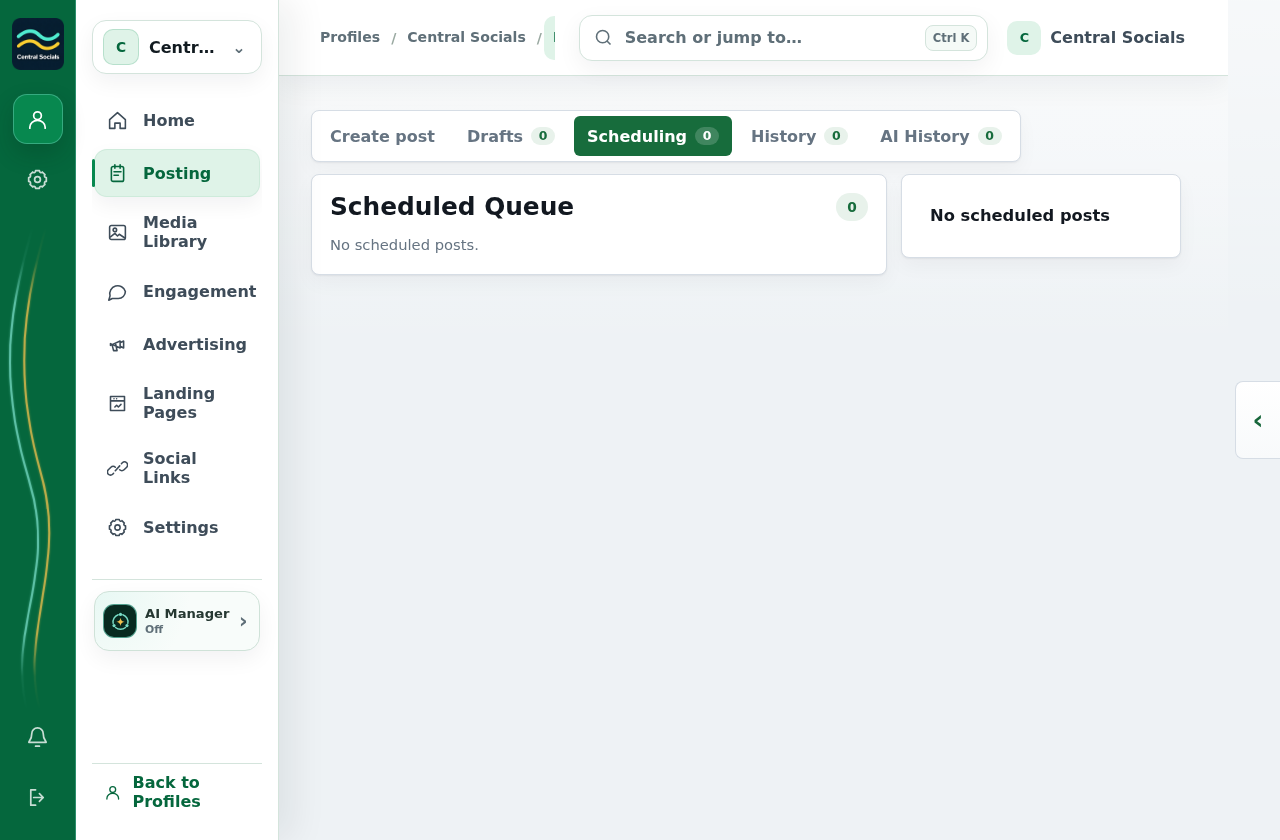
Confirm with Post. Find the result in Posting → Scheduling.
No destination is linked and no post was scheduled for these screenshots.
Step 1 Prepare a post and linked destination in the composer.Tap the screenshot to view it full size.Step 3 Scheduled posts appear in the Scheduling queue; this test queue is empty.Tap the screenshot to view it full size.Walkthrough: locate the composer and Scheduling queue without posting.